Steps for an Effective Audio Inspection
In the world of live music, a well-executed sound check is crucial for delivering a clear, balanced, and professional audio experience. Here are the key aspects to focus on when performing a sound check for live performances and musical events.
Powering Up Equipment Properly
Start by powering up your equipment in the correct order. Turn on input devices such as microphones and electronic instruments first, followed by the mixer, and finally the amplifiers or loudspeakers. This sequence prevents loud pops and protects your gear. When it's time to power down, do so in reverse order, allowing powered speakers to discharge before switching off the mixer and inputs.
Running the Sound Check
Begin by setting all gain and volume controls to zero. Gradually raise gain and volume levels on the mixer, and have each performer play their instrument or sing individually at full volume to check tone and levels. Adjust individual sound settings for clarity, balance, and correct gain staging. Fine-tune dynamic balance by having them play softer as well.
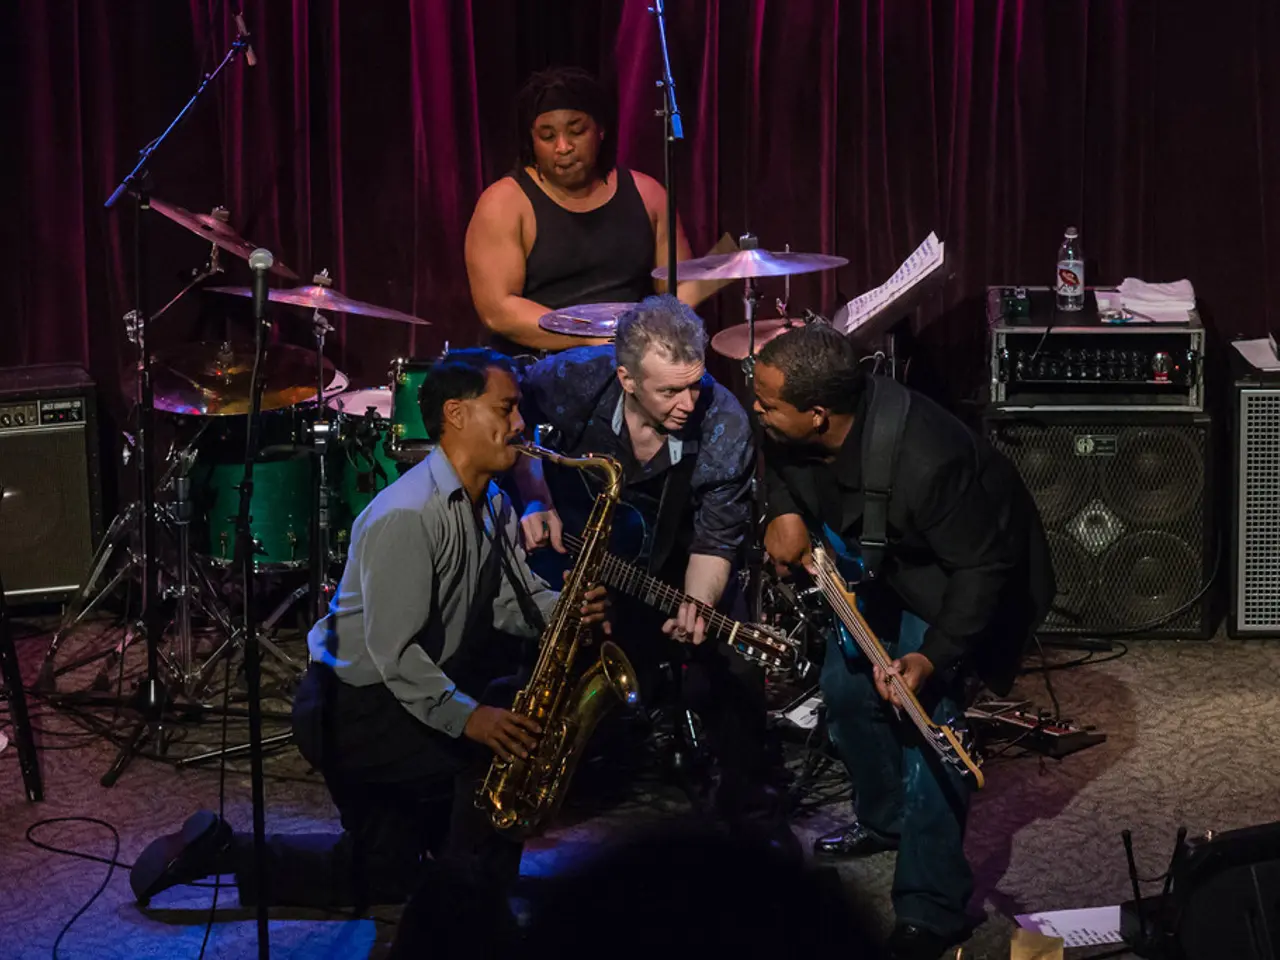
Microphone Selection and Placement
Choose microphones appropriate for each instrument or vocal style. Position mics to minimize feedback risk and capture the best sound. Use directional mics to isolate sound sources and reduce bleed.
Stage and Space Adjustment
Place stage monitors about 3 to 5 feet in front of performers, angled away from microphones to avoid feedback. Adapt monitor placement to the stage layout and performer preferences for best onstage hearing.
Cable Management
Use balanced cables (XLR, TRS) for long runs and professional gear to reduce noise and interference. Match cable types to environmental conditions to maintain clear sound. Avoid mixing speaker cables and instrument cables, and use proper connectors and adapters cautiously, as they can affect signal quality. Organize cables neatly to prevent tripping hazards and interference, using cable ties or mats as needed.
Final Adjustments and Monitoring
After balancing individual inputs, create a good overall mix. Pay attention to volume, EQ, and effects for clarity and presence. Adjust stage monitors’ Aux output levels gradually and check for feedback. Monitor the sound during the event for any required tweaks.
Following these steps ensures a clear, balanced, and professional live sound experience tailored to the specific performance space and artist needs. It's also recommended to have a supporting playback device with known sound quality for adjusting the system.
In the realm of home-and-garden lifestyle, organizing your equipment in a neat and manageable way, like cable management during sound checks, will create a more enjoyable and less cluttered entertainment setting. Meanwhile, selecting and placing microphones wisely, as done in a sound check for live music, elevates the quality of your home-recorded music to a professional level.


