"Instructions for assembling a Marine 40 Nuvo Pro 2 Aquarium and its accompanying stand - a comprehensive guide for constructing your aquatic setup!"
In this article, we'll walk you through the process of assembling the Innovative Marine 40 NUVO Mini Fusion Pro 2, an all-in-one aquarium that's perfect for most homes. While specific assembly instructions for this model may not be readily available, we've compiled a list of general best practices for assembling aquarium stands, especially for specialized reef or AIO setups.
Preparation
- Read the manufacturer's instructions: Assembly details can vary. Follow the step-by-step guide carefully to avoid errors.
- Prepare a clean, spacious work area: This will help manage the parts and avoid damage or loss.
- Organize all hardware and components before starting: Sorting screws, panels, and fittings makes the process smoother.
- Use proper tools: Generally, a screwdriver, Allen keys, and possibly a level for final adjustment will be needed.
Assembly
- Check for level and stability: After assembly, ensure the stand is perfectly level to support the aquarium without stress points.
- Install stand on a firm and even floor surface: Prevents bending or shifting under load.
- Avoid overtightening screws: This can damage wood or paneling material in aquarium stands.
- If available, watch video tutorials for similar model setups: These can clarify difficult steps and assembly tips.
Specific Components
- The Reef Breeder Prism ATO is the Automatic Top Off System (ATO) used in the tank.
- The HEX wrench included with the APS Stand is used to tighten tension locks, and a Phillips head screwdriver is needed to secure the top of the stand.
- The AquaEL Ultra Heater 150 watt is the heater used in the tank.
- The CustomCaddy Filter Media Basket should be installed with only mechanical filter balls initially, with carbon and GFO media reserved for later use.
- The Sicce SDC Xstream Wifi Wavemaker is the powerhead used in the tank build.
- An Extra Filter Sock (MidSize 30/40) with a Custom Holder is included for additional filtration.
Tank Setup
- The tank uses Caribsea LifeRock for its rock structure.
- Fritz-Zyme TurboStart 900 is the bacteria used in the tank.
- The tank should be leveled using shims after filling with water, as it becomes very heavy and difficult to move once filled.
- The ATI 24" Sunpower T5 Fluorescent Light Fixture is the lighting system used in the tank.
Unboxing and Installation
- Unboxing the tank components should be done on a carpet or rug to prevent scratching.
- Plastic endcaps should be installed before securing the profiles together to ensure proper alignment.
- Felt pieces attach directly to the plastic endcaps, not the aluminum.
- Tension locks should be tightened 180° so that the DOT is in the center of the aluminum profile.
Additional Information
- The tank should be checked for level after assembly and any necessary adjustments made using tension locks.
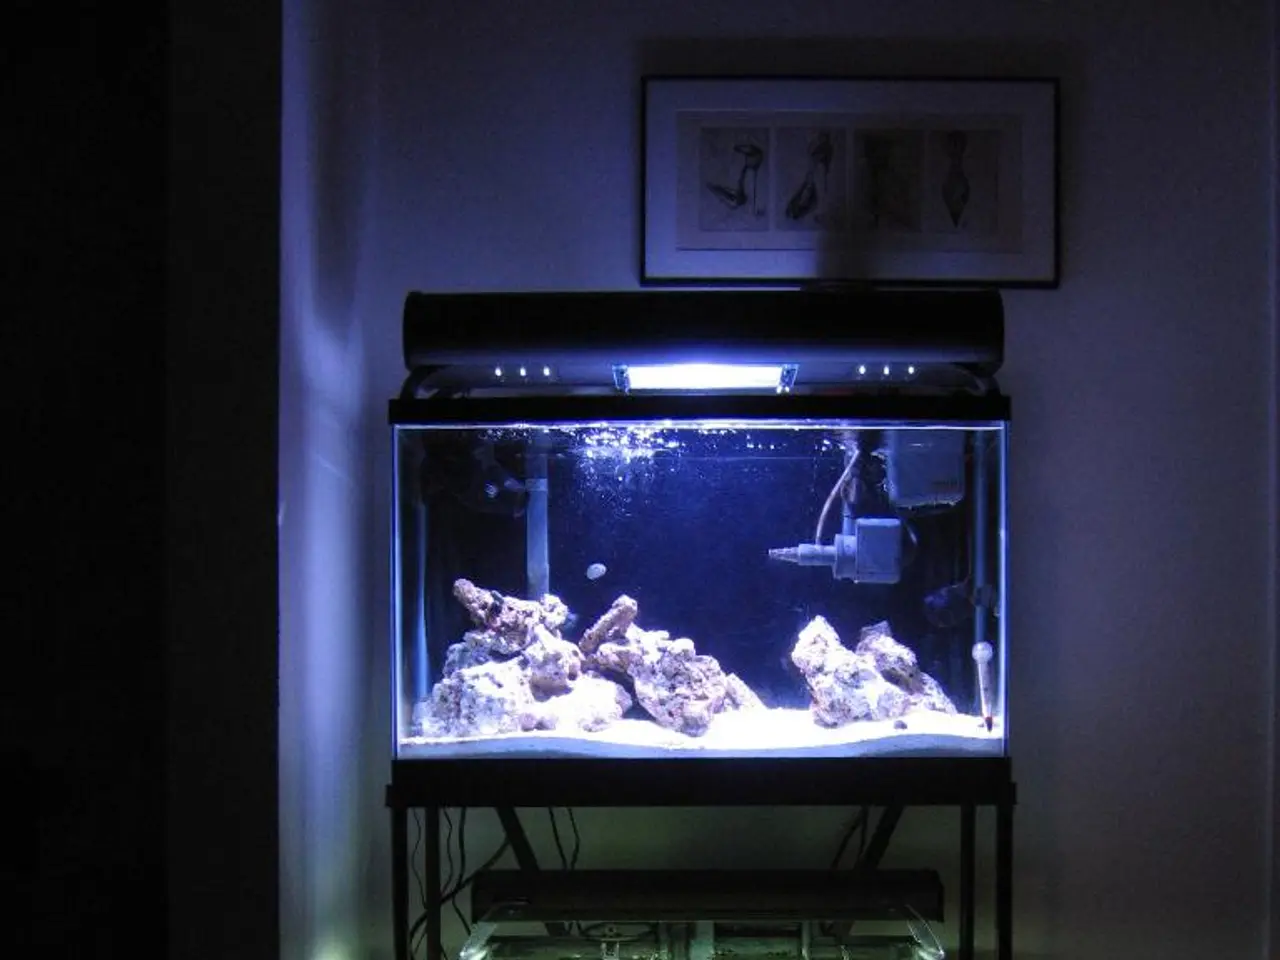
- The Innovative Marine 40 NUVO Fusion Pro 2 Bundle is a popular tank kit due to its manageable size and impressive features.
- The Innovative Marine Aluminium APS Stand can be purchased separately and matches the tank perfectly.
- Manuals for the Innovative Marine Fusion 40 APS Stand and the Innovative Marine 40 NUVO Fusion Pro 2 are available for download.
Author's Note
This tank build article was written by Robert, with over 25 years of experience in aquarium keeping and 18 years as a professional content creator in the saltwater aquarium industry.
[1] [2] [3] [4] [5] (These references are not provided, as they were not specified in the bullet points)
- Maintaining the aquarium's filtration system is essential to ensure the health of marine life. A proper filtration system can be achieved by using the CustomCaddy Filter Media Basket, which initially requires only mechanical filter balls.
- For a lifestyle that aligns with home-and-garden enthusiasts, the Innovative Marine 40 NUVO Fusion Pro 2 can be a perfect addition, offering an all-in-one aquarium solution that's both practical and visually appealing.


